
 2021-03-12
Virtualization without compromise, or a few words about KVM, QEMU, libvirt and virt-manager
Virtualization enables more effective use of existing hardware resources, generates large savings in server applications, allows building a flexible test environment and prepares for data transfer to the cloud. Therefore, today we are going to take a closer look at KVM, QEMU, libvirt and virt-manager.
Virtualization enables more effective use of existing hardware resources, generates large savings in server applications, allows building a flexible test environment and prepares for data transfer to the cloud. Therefore, today we are going to take a closer look at KVM, QEMU, libvirt and virt-manager.
Let’s begin by explaining some basic virtualization-related notions based on the title set of components:
- Hypervisor – is a combination of software and hardware that creates, executes and manages virtual machines. The computer running the hypervisor is called a host, and each virtual machine on the host is called a guest. Hypervisor provides guests with a virtual operating platform, allowing multiple operating systems to share virtualized resources on the same host.
- KVM (Kernel-based Virtual Machine) – is an open source virtualization technology that turns the Linux kernel into type 1 hypervisor (works directly at the hardware level). KVM runs applications at a faster speed than other commercial hypervisors. It works as if the virtual machine operating system was operating directly on the host machine. Another advantage of KVM is access to source code and flexibility in integration with any software. As the name suggests, KVM is based on the Linux kernel. So it’s no surprise that it only supports Linux as a host operating system.
- QEMU – is a type 2 hypervisor (runs on the host operating system) and is used to support hardware virtualization. Although QEMU can work independently and emulate all virtual machine resources, this solution is very slow because entire emulation is done via software. QEMU, however, speeds up considerably by using the KVM module as an accelerator.
- Libvirt – is a set of tools that provides a single API for many different virtualization technologies. In the case of our set it translates, among other things, the configuration stored in XML files into QEMU calls.
- Virt-manager (short for Virtual Machine Manager) – is an application with a graphical user interface used to manage virtual machines through libvirt. Although it is mainly designed for KVM guests, it can also manage XEN and LXC containers. It has built-in VNC and SPICE applications for full-screen preview of a running virtual machine.

Virtualization Package Installation
First, let’s check if hardware virtualization is supported by our system. The following command should result in a red vmx or svm flag color:
egrep '(vmx|svm)' /proc/cpuinfo
KVM is a kernel module. So we need to check if it is already downloaded, and if not, download it. Depending on your hardware, we should receive a minimum of two markings as a result of the following command:
lsmod | egrep '(kvm|kvm_intel|kvm_amd)'
It is possible that hardware virtualization is not enabled in the BIOS. Therefore, if KVM modules are not detected, check the BIOS settings. In EuroLinux 8 and other latest Enterprise Linux systems, we will install the necessary virtualization packages with one command:
sudo dnf groupinstall Virtualization
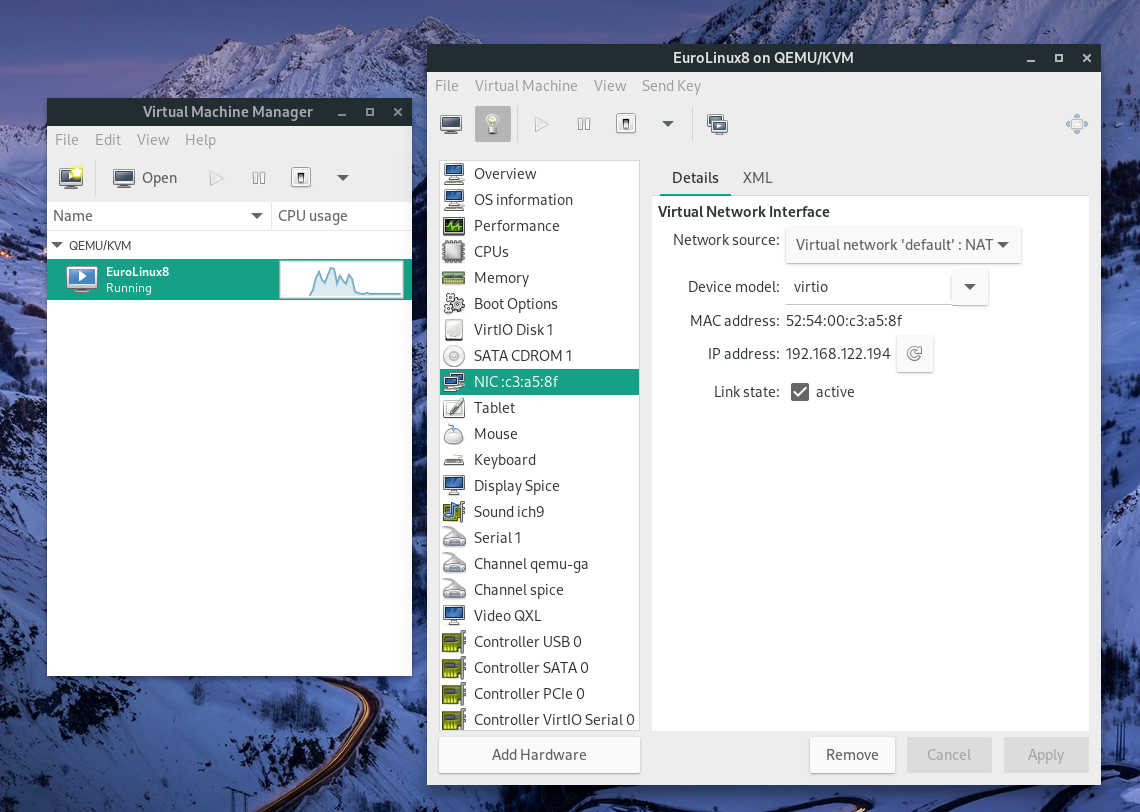
With virt-manager software, the KVM/QEMU set is no longer as difficult to use as it was a few years ago (when only CLI-only QEMU calls were made). A user familiar with VirtualBox can easily handle KVM support via the Virtual Machine Manager GUI. Network configuration has also been simplified. By using the default Network selection setting, the guest automatically receives a static IP address from the Class C private address pool, and no additional configuration of network settings on the host system is required.
In addition to the virt-manager, the following supporting tools will also be installed:
- virt-install – a command line tool for creating new virtual machines. It creates KVM guests from the command line using libvirt
- virt-clone – a command line tool used to clone existing inactive guests. Copies disk images and defines a configuration with a new name, UUID, and MAC address pointing to the copied disks
- virt-viewer – a lightweight UI interface for viewing and interacting with graphical display of a virtualized operating system
- virt-xml – command line tool for editing XML of a virtual machine
- virt-convert – command-line tool for converting OVF and VMX VM machines into machines runnable with the use of libvirt
- virt-bootstrap – a command line tool that allows easy configuration of the root file system for libvirt-based containers.
Diving Deeper – Nested Virtualization
KVM also supports nested virtualization, which is running virtual machines inside a virtual machine. To activate this mode, it is necessary to edit (and if it does not exist, create) the file:
/etc/modprobe.d/kvm.conf
by typing in the following:
- for an Intel-based host:
options kvm_intel nested=1
- for an AMD-based host:
options kvm_amd nested=1
Then, restart the hosting machine. You can validate activation of the nested virtualization operation by executing the command:
cat /sys/module/kvm_intel/parameters/nested
or for AMD:
cat /sys/module/kvm_amd/parameters/nested
If the command returns the letter “Y” or the number “1”, the nested virtualization functionality is active on the host. It still needs to be activated in the guest machine by selecting CPUs-> Configuration-> Copy host CPU configuration in virt-manager:

Activation on the guest machine is also possible in the CLI by editing the cpu mode parameter in the XML of the virtual machine:
<cpu mode=”host-model” check=”partial” />
We can access XML using the following commands:
virsh list --all
virsh edit machine-name
For more information on handling KVM from the CLI, see the virsh command manual.
Nested virtualization is especially useful when our software requires virtual machines to be created, and must run on a remote server from a service provider that also uses virtualized resources. In this case, we will most often use the command line, but to better illustrate this type of virtualization, we provide the following graphical example:

Summary
Tight integration with the host operating system is the main reason why Linux developers usually prefer KVM, which was incorporated into the Linux kernel as early as 2007. By comparison, Xen became officially part of the Linux kernel only in 2011, eight years after its first release. KVM is an open source software, so there are no additional licensing costs for the user. It is also distributed in various ways, often as part of an open source operating system. By default, it is also included in Enterprise-class Linux systems, including EuroLinux 8.
The speed of operation of KVM-based virtual machines, nested virtualization capabilities, and ease of use with virt-manager GUI make the set KVM/QEMU/libvirt/virt-manager a great solution for a novice user, and virsh, available from the command line, perfectly complements this set in server applications.